On the Front
Take a moment to examine the front of the planisphere. Here, we will briefly cover each printed element and describe its use.
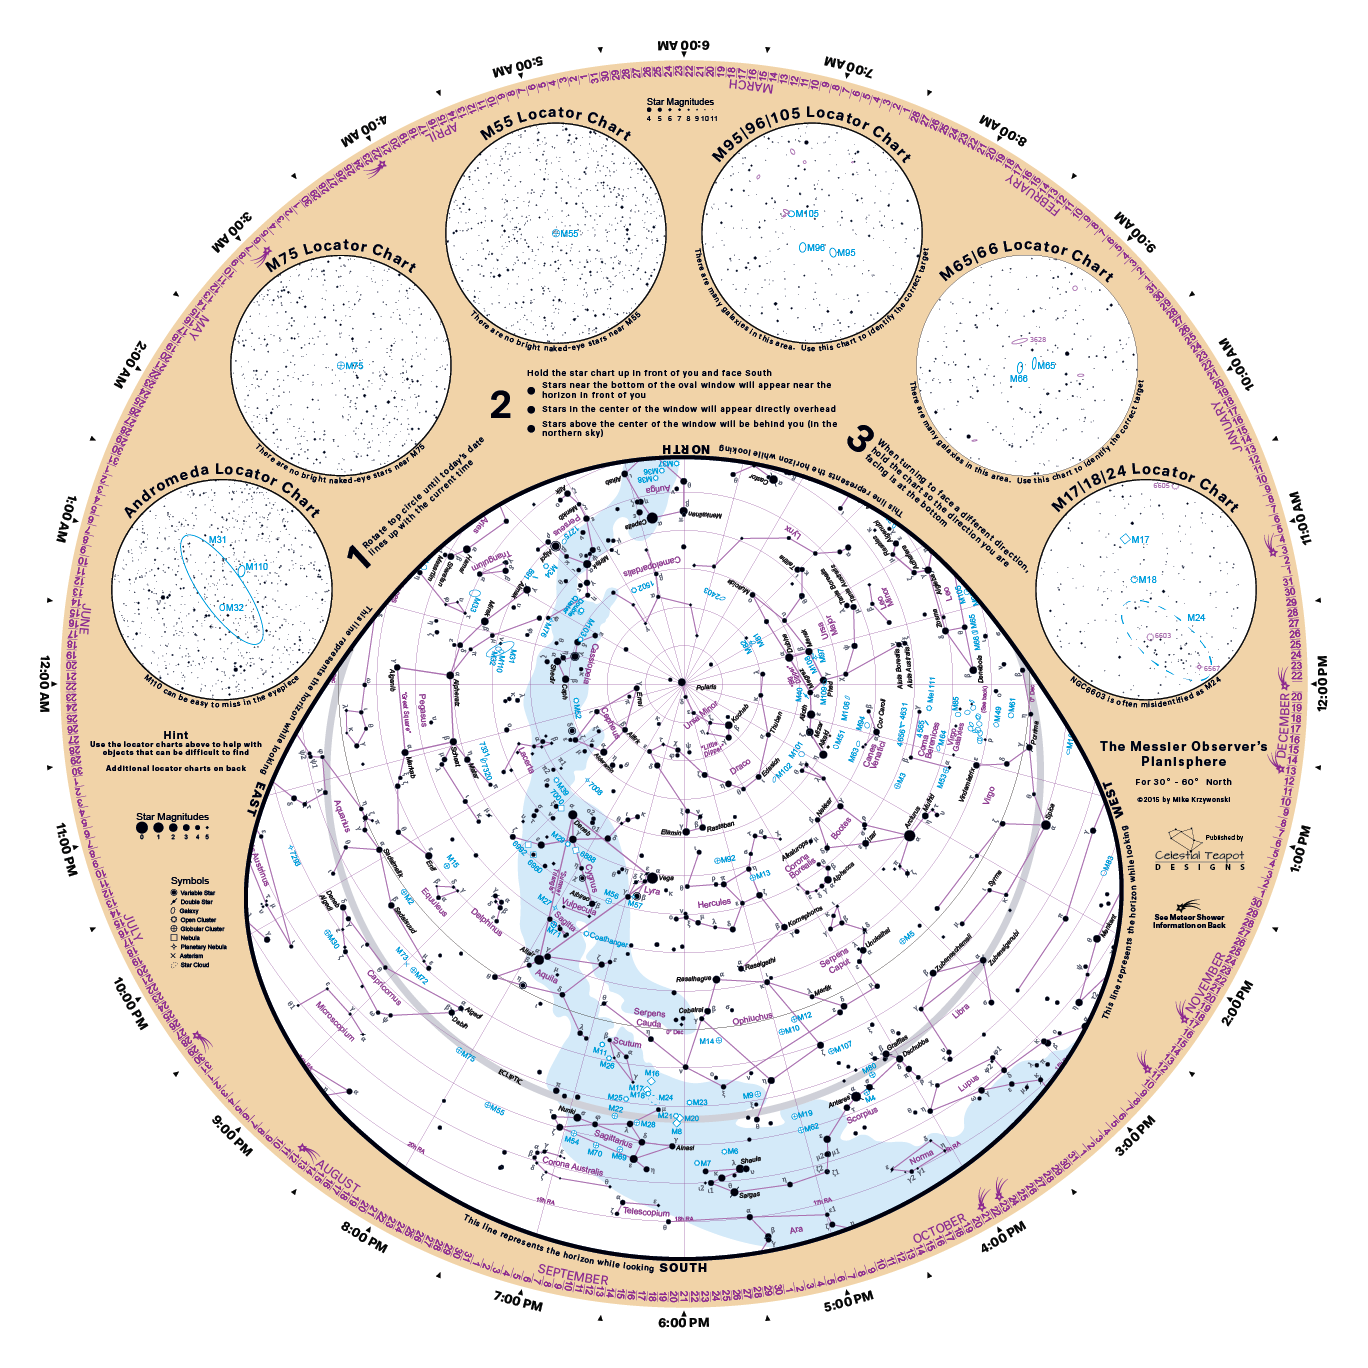
Date and Time
Start by examining the area around the perimeter of
the chart. You will find the time printed for each hour
of the day, with small arrows shown in-between marking
the half-hours. This ‘clock dial’ serves two purposes.
The primary purpose is to be used in setting the
planisphere to display the portion of the sky that is
above the horizon at a selected date and time. The clock
dial can also be used to quickly locate right-ascension
(RA) grid lines on the star chart. See Celestial Coordinates to
learn how to use the grid lines to locate objects on the
chart. 
Moving slightly inward from the clock dial, you will find a calendar. Each month of the year is printed in purple text with they days of that month shown below it. This calendar is used in conjunction with the clock dial to set the planisphere for a chosen date and time. Simply rotate the top dial of the planisphere until the selected date aligns with the desired time on the clock dial. This will result in the transparent window on the top dial being positioned over the portion of the star chart that is visible above the horizon at that date and time. Alternatively, you can rotate the top dial until a selected star or constellation rises above the horizon (moving into the window from the East) or sets below the horizon (moving just out of the window to the West), and use the calendar and clock dial to see what time the object will rise or set in the sky on any particular date. After rotating the dial to cause your selected star to ‘rise’, find the date in question on the calendar. The time that aligns with your selected date will be the rise-time for that object on that date. Note: You may have to account for Daylight Saving Time if it is observed at your location
One final note about the calendar, you may notice that there are ‘shooting-star’ symbols located at certain points around the dial. These symbols indicate that a meteor shower peaks around that date each year. Turn the planisphere over to consult the Meteor Shower table on the back to see the name and relative intensity of any particular shower. Meteor showers are the result of the dusty trail of debris left by a comet as it passes through the solar system. As the Earth moves around the sun in its annual orbit, it moves through these dusty trails causing individual grains to burn up brightly when they hit the atmosphere. These shooting stars will appear to radiate outward from the point in the sky towards which the Earth is moving. Shooting stars can be seen on any given night during the year, but you will notice them more frequently during meteor showers.
Horizon Window
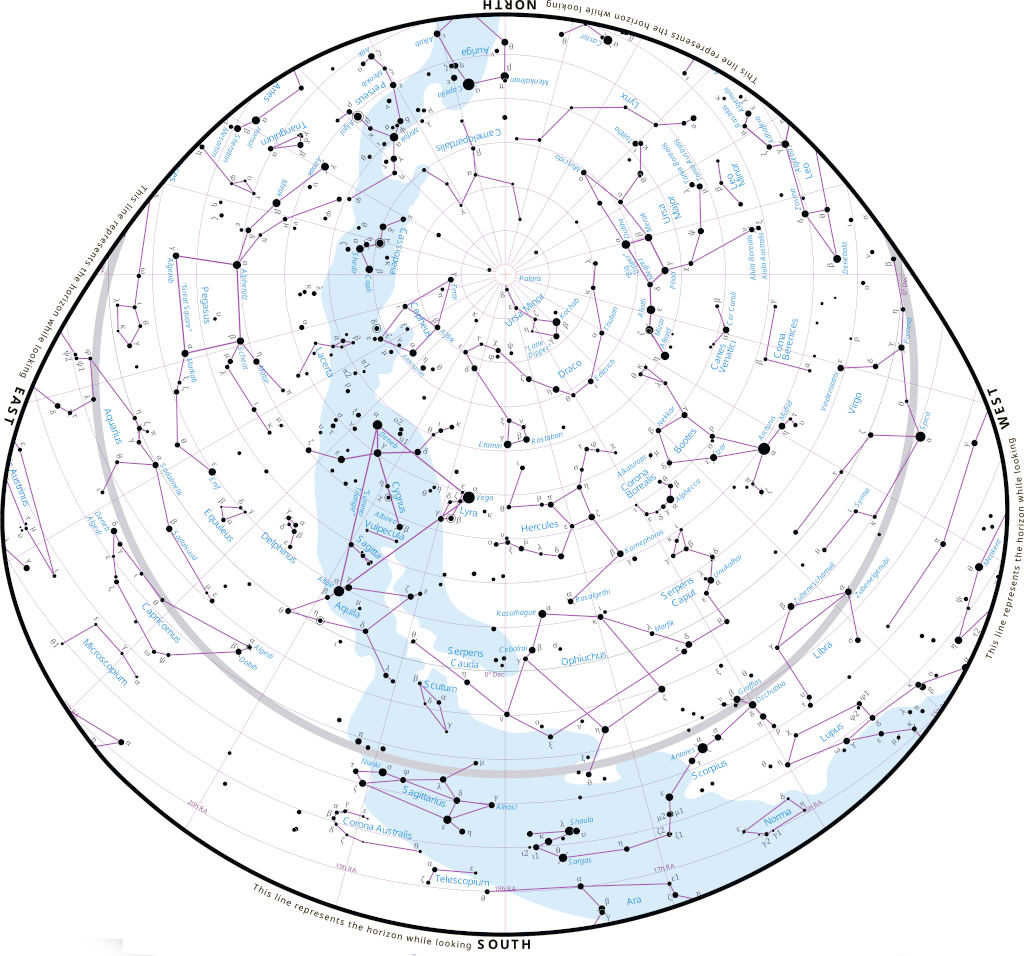 Moving further inward from the edge of the chart, the most
obvious element of the planisphere is the transparent
window through which you can see the star map. The black
line around the edge of the window represents the Horizon,
the place where the sky meets the ground. Just as you can
face any direction when looking at the real horizon in
front of you, you can also look towards any direction on
the chart by rotating the entire planisphere until the
chosen direction printed along the horizon line is oriented
towards the ground.
Take a moment to look at the actual sky. This may seem obvious, but notice how only half of it is visible to you at once, starting near the ground at the horizon and rising up to the zenith directly overhead. You would have to literally bend over backwards to see the rest of the sky. Though, turning around and facing the opposite direction might be easier on your neck! Let’s apply this same concept to the horizon window on the planisphere. Imagine a line cutting the horizon window in half horizontally. You should be focused on the portion of the chart below this imaginary line. Stars on the chart near the lower edge of the window will be found low in the sky near the horizon. Stars on the chart rising higher up towards the imaginary half-way line will be found higher up in the sky near the zenith directly above your head. Stars on the chart that are above this imaginary line will be past the zenith - behind you. Don’t bend over backwards! Turn completely around and rotate the planisphere 180 degrees to view these objects.
Instructions
Above the Horizon Window on the planisphere, you will see the numbers 1, 2, and 3 printed in large type with smaller adjacent text. These represent simple step-by-step instructions for those who may need a reminder about how to operate the planisphere. If you have read this far, the instructions printed there will already be familiar to you.
Map Legend
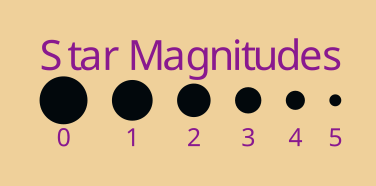 Take a look at the planisphere just to the left of the
Horizon Window, near the word ‘East’. There, you will
find a legend that will help you understand the symbols
printed on the star map. The first item in the legend is
the Star Magnitude chart. This shows the relative sizes
of the black dots representing stars on the map and their
corresponding stellar magnitudes. If you are unfamiliar
with stellar magnitude, lower numbers are brighter and
larger numbers are dimmer. Early astronomers would refer
to the brightest stars in the sky as stars of the ‘first
magnitude’. Slightly dimmer stars were ‘second magnitude’
stars, and so on. The modern definition defines a star of
magnitude 1 to be 2.5 times brighter than a magnitude 2
star. Likewise, that second magnitude star is 2.5 times
brighter than one of magnitude 3. And so on. On this
scale, some bright stars can have magnitudes that are
even smaller than 1. Sirius, the brightest star in the
sky even has a negative magnitude! For our purposes, just
understand that bigger dots on the map represent brighter
stars and smaller dots represent dimmer ones. Depending
on the light pollution at your observing site, you may
not be able to see all the stars on the map with the
naked eye. That’s OK, they will become easily visible in
your finder scope or in a pair of binoculars. Of course,
there are dimmer stars in the sky that will be visible in
the telescope that are not printed on the chart.
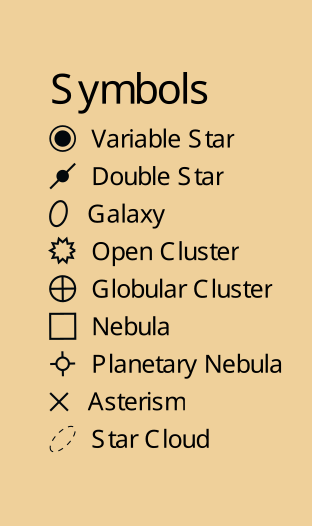 Below the Star Magnitude chart is the list of Symbols
used on the star map. Galaxies in the telescope look very
different than globular clusters. And those look
different to open clusters and nebulae. Before you start
searching for a new object in your telescope, look at the
symbol on the chart to make sure you know what type of
object you are expecting to see in the eyepiece.
Locator Charts
Take a moment to look at the upper portion of the planisphere, above the Horizon Window. There you will find six small circular star charts. These locator charts, and three more on the back of the planisphere are designed to aid you in finding and identifying some more challenging Messier objects. If you have already got some experience observing the Messier objects in a telescope, you may realize that most of them look very different to the surrounding background of stars. As a result, you will find that after pointing your telescope to the correct part of the sky you are easily able to pan around and identify the object even if it did not land perfectly in your telescope’s field of view. For example, if you are looking for the Ring Nebula, there will be no mistaking when you see it, even if you have to scan back and forth across the area a bit. Some of the Messiers present more of a challenge, either because they do not stand out conspicuously from the background of stars (e.g. M40), or because there are several objects of that type within the same area of the sky (e.g. Virgo galaxies). In either case, it can be difficult to know if you are actually observing the correct object in the eyepiece. This is especially critical if you are logging your observations, such as for the AL’s Messier certificate. Each of the included locator charts represents an area of sky about the same size as what is visible in a typical finder scope. Point your telescope to the area of the sky shown on the main star map, then use your telescope’s finder to match the star pattern shown in the locator chart for one of these challenging objects. This method will help you to positively identify your target in the eyepiece.
Andromeda
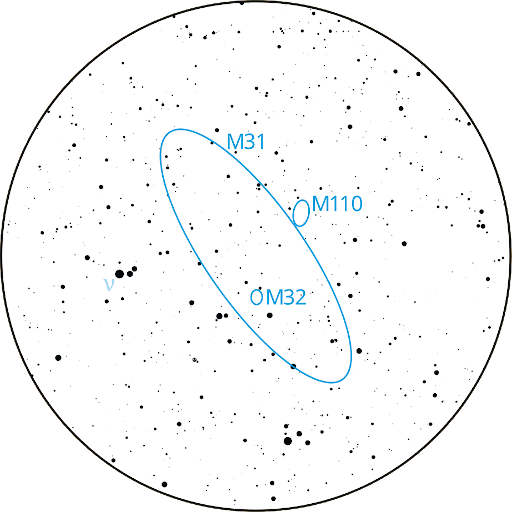
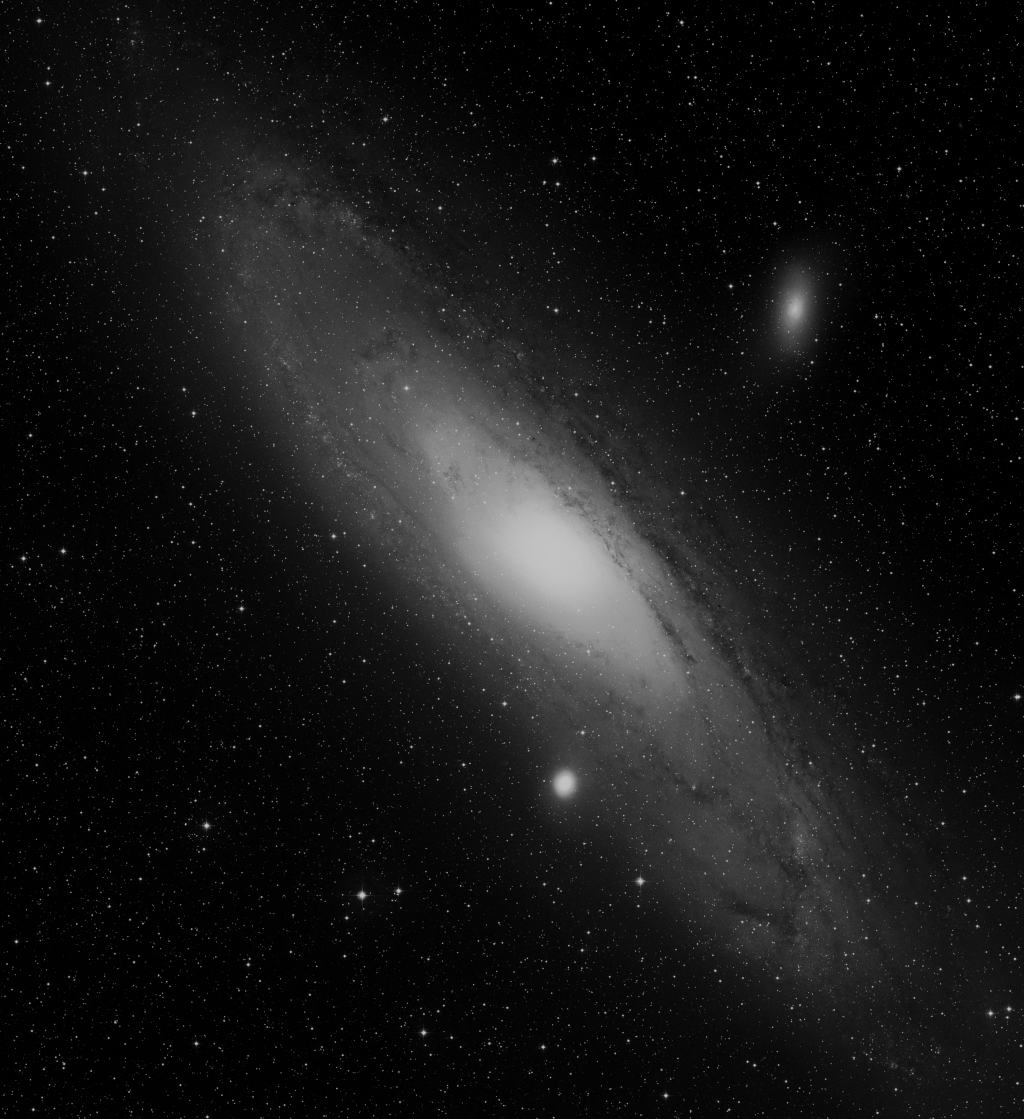 M31, the Andromeda galaxy is a huge object on the night
sky, covering an area larger than the full moon. Chances
are, your telescope’s field of view is not large enough
to see the entire galaxy! You will most likely observe
the bright core of M31, while the tenuous and wispy arms
of the galaxy extend well beyond your view in the
eyepiece. The Andromeda galaxy also has two satellite
galaxies that have Messier designations, M32 and M110.
M32 is often visible in the same field of view while
observing M31. M110 sometimes requires searching a bit
further from the larger galaxy’s bright core. Use the
locator chart on the front of the planisphere to help you
properly identify each object.
M75
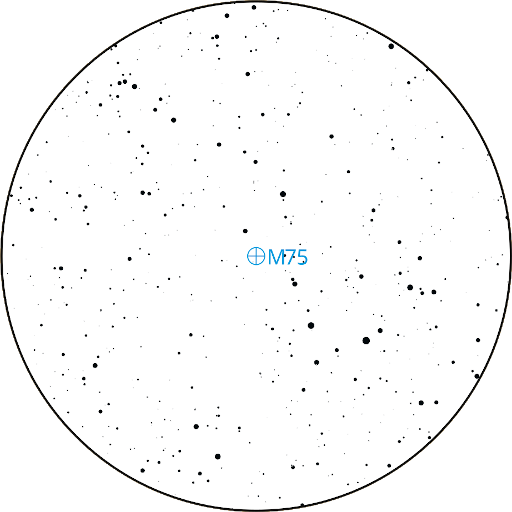
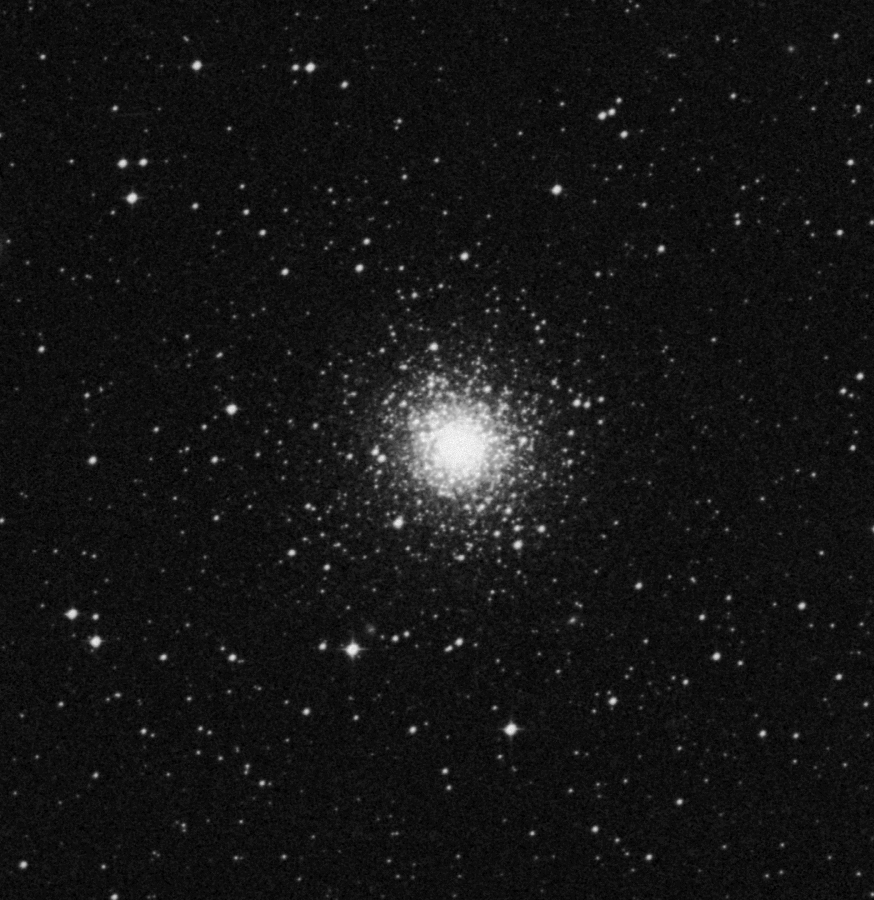 This globular cluster is located in a part of the sky
with few bright naked-eye stars. As a result, it can be
difficult to see exactly where to point your telescope
when looking at that part of the sky. Use your finder to
locate the star patterns in this locator chart after
pointing the scope in the general direction.
M55
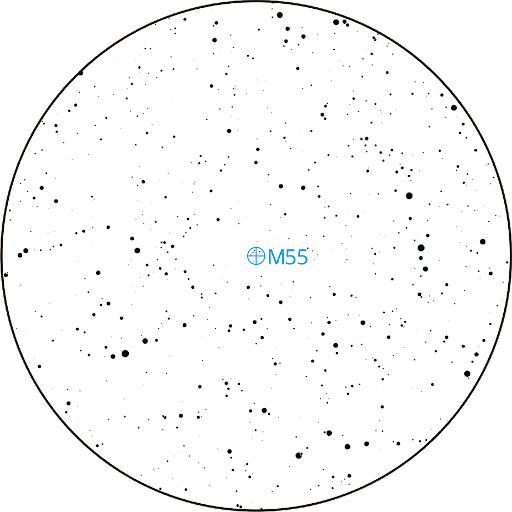
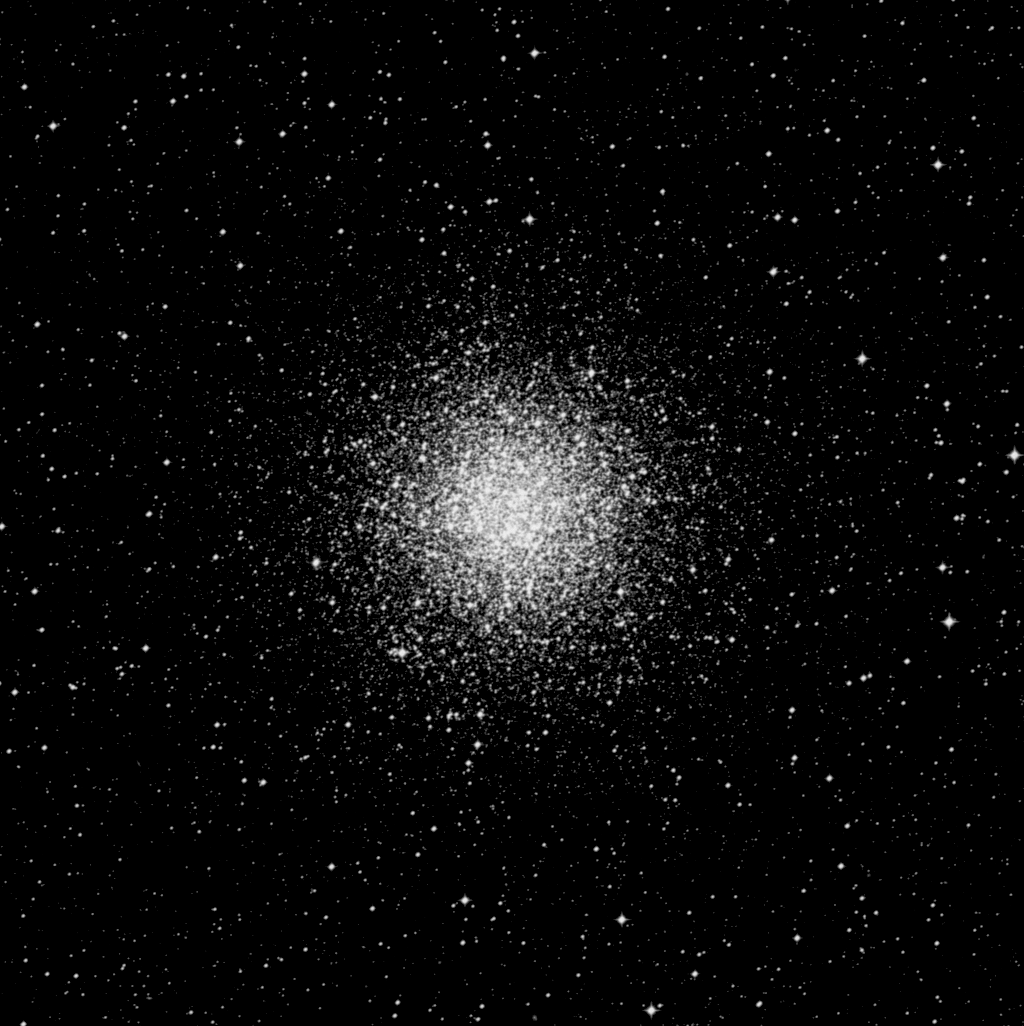 Like M75 above, M55 is found in an area of the sky with
few bright stars visible to the naked eye. Use the
locator chart and your telescopes finder to tweak your
telescope’s position before moving to the main
eyepiece.
M95, M96, M105
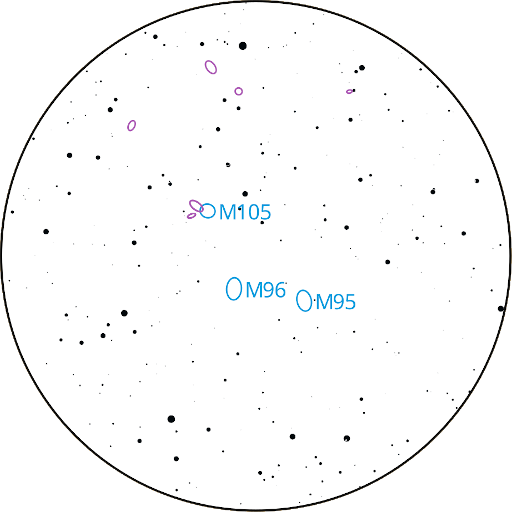
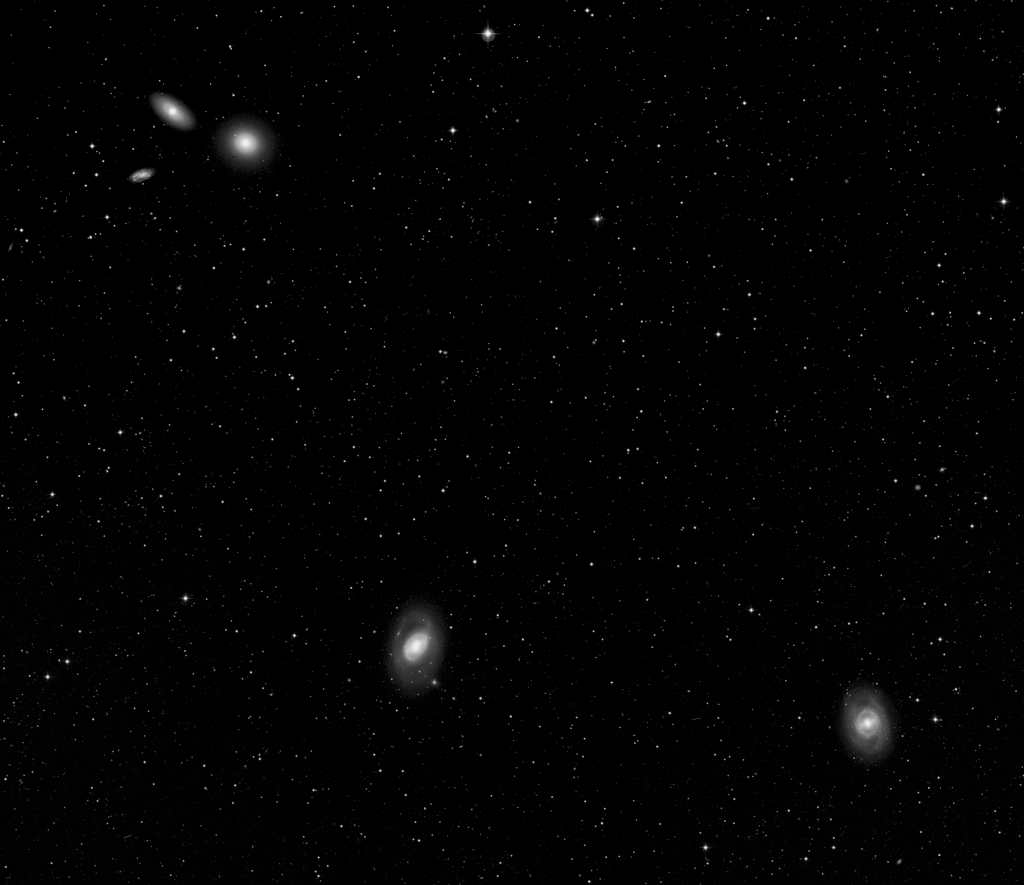 These galaxies in Leo share the view with some friends.
Once you get your telescope pointed to the correct
position on the sky, several galaxies will compete for
your attention in the eyepiece. Which are your targets
and which are just along for the ride? This locator chart
will help you to be sure you are observing the correct
target.
M65, M66
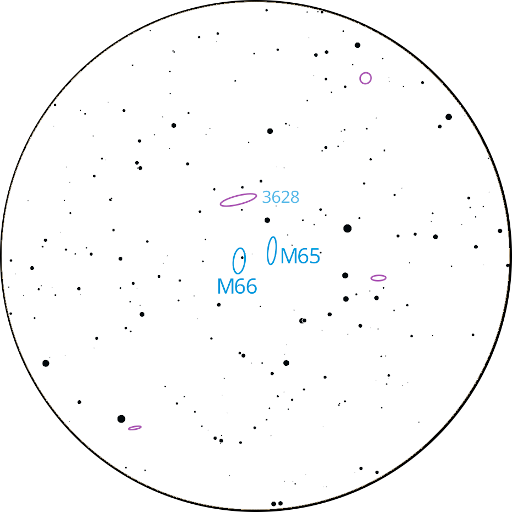
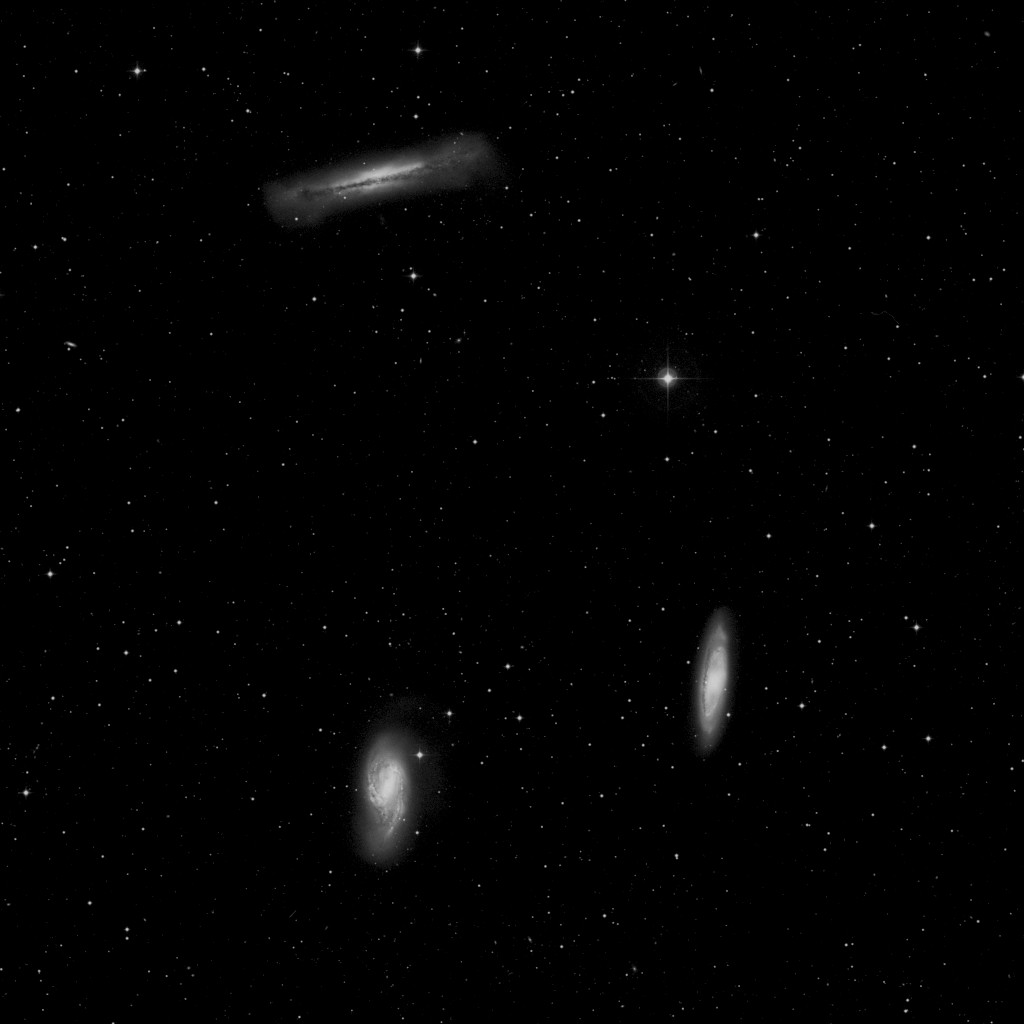 Another pair of Messier galaxies in Leo, with the
beautiful galaxy NGC 3628 sharing the field of view. Use
the locator chart to make sure you are describing the
correct object in your observing logs.
M17, M18, M24
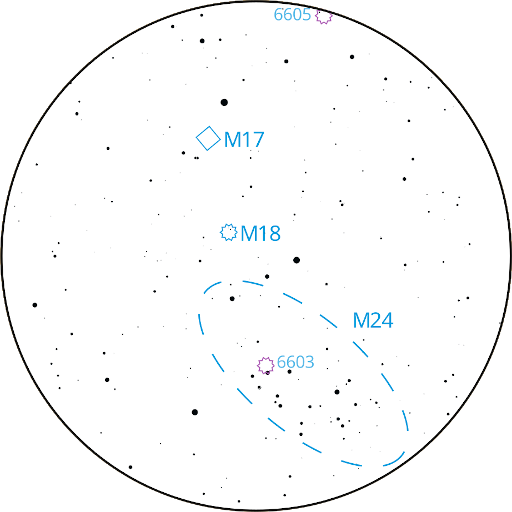
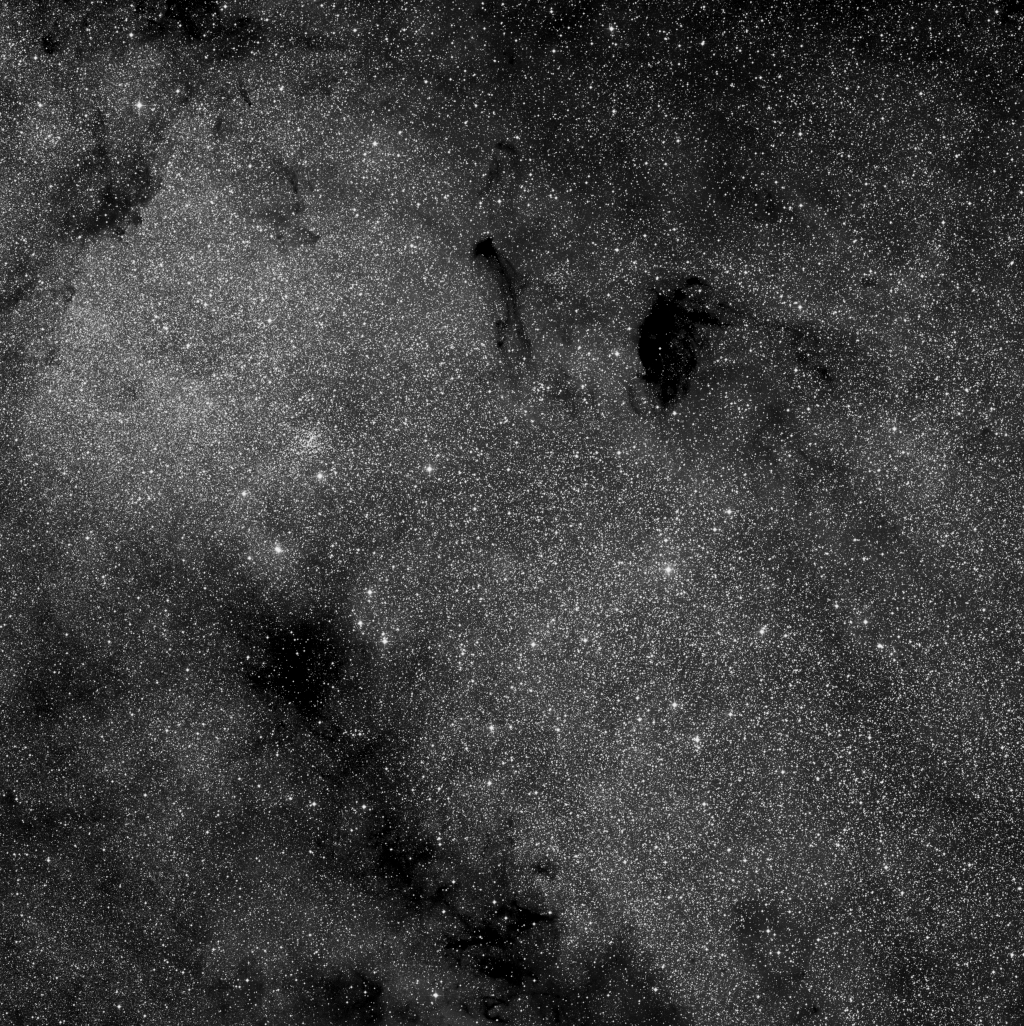 These three objects are located in Sagittarius near the
center of our Milky Way galaxy. There is a lot to see in
this part of the sky. Let’s start with M24, the
Sagittarius Star Cloud. This object is unlike any other
in the Messier catalog. It is a huge accumulation of
stars drawn out into a long bar. If you are fortunate
enough to observe from a location with very little light
pollution, you may even be able to locate it with the
naked eye! Like the Andromeda galaxy, it is easy to zoom
in too far with the telescope so that the entire object
is not visible in the field of view. If you fall for this
trap, you may mistakenly take the small open cluster
NGC-6603 to be your target. You are looking for a forest,
but seeing a close-up of the bark on one of the trees.
Use your lowest power eyepiece to get started with your
observation. If that is still too much magnification,
make your observations through your scope’s finder
instead of the main eyepience!
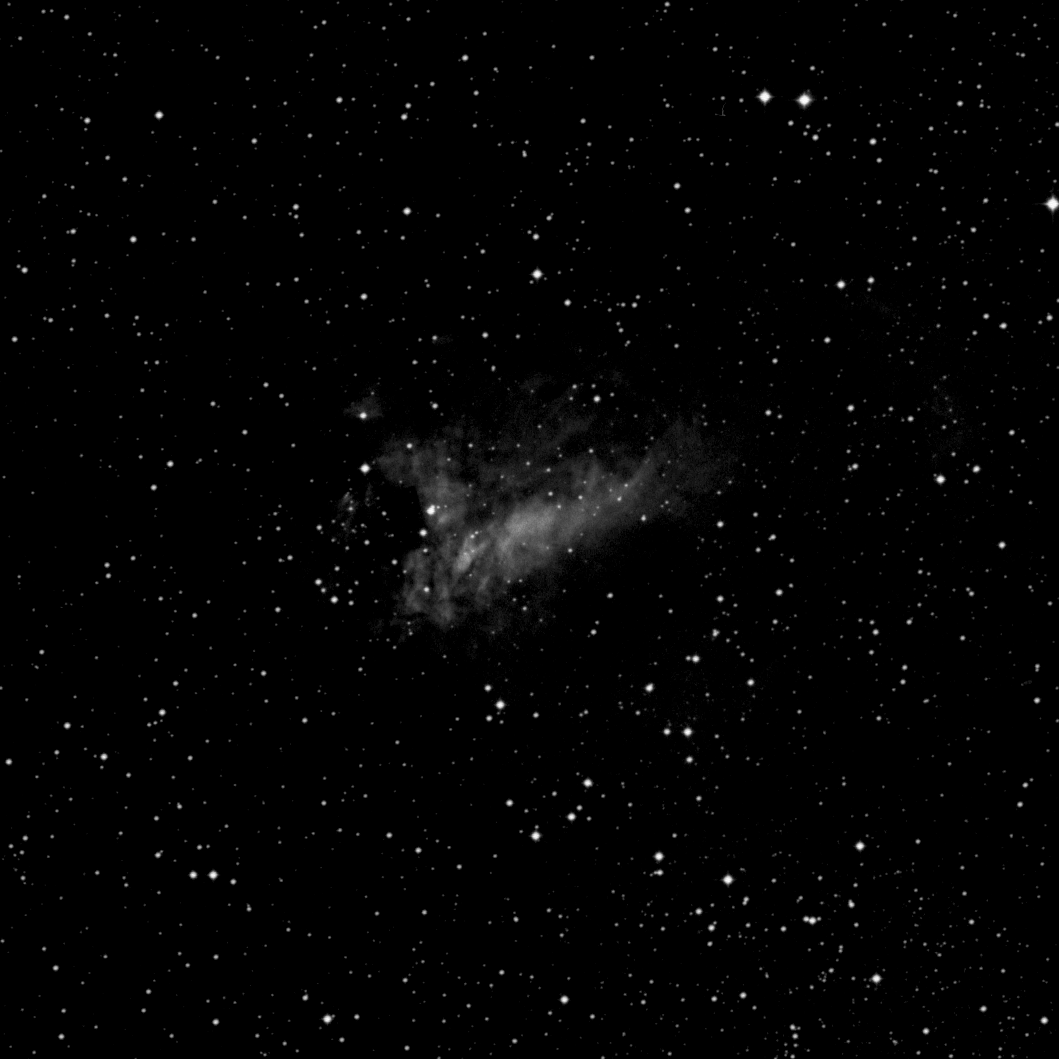
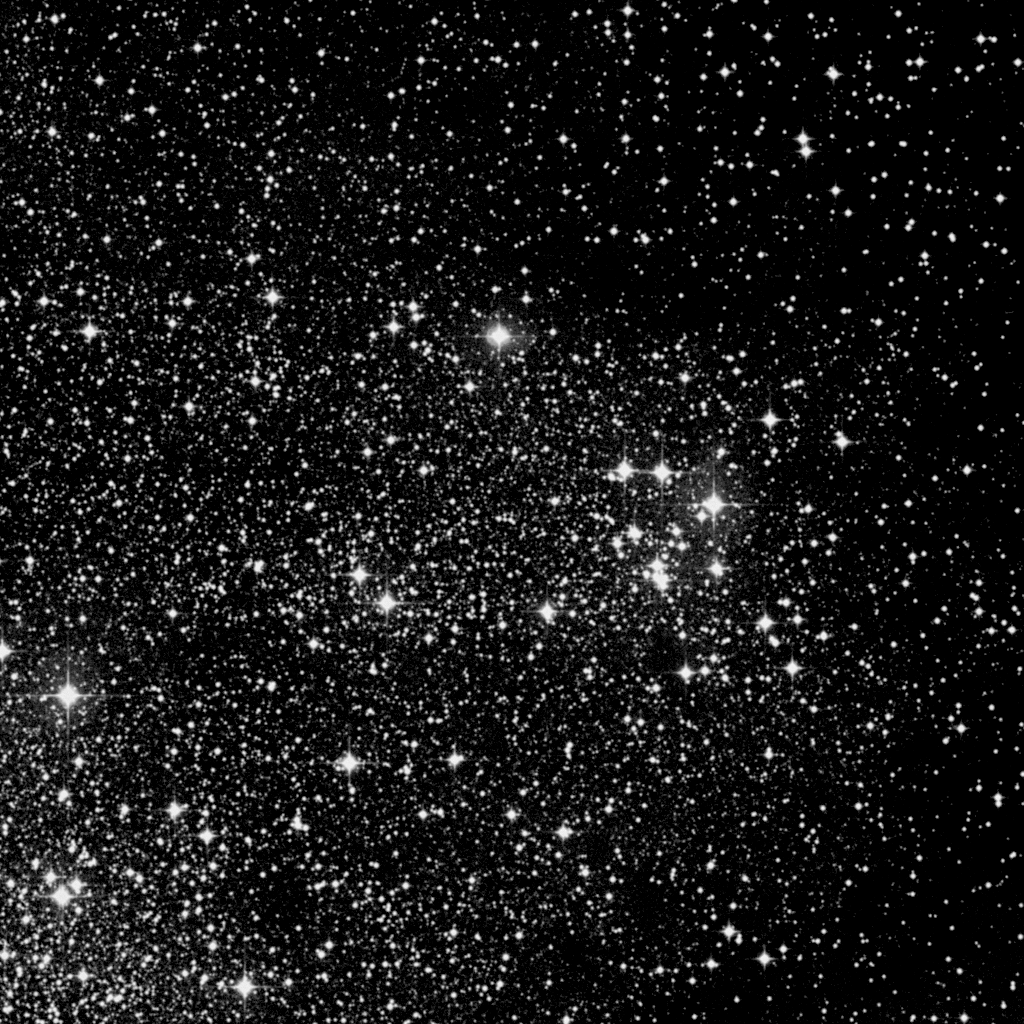 M17, the Swan Nebula is easily identifiable in the
eyepiece, and often in the finder. Depending on the
aperture of your scope, it can really look like a swan
floating on a lake. It also resembles a check-mark or the
Greek letter Omega in some scopes. After locating M24,
M17 is easily found nearby. The open cluster M18 lies
neatly between them, making for easy identification using
this locator chart.